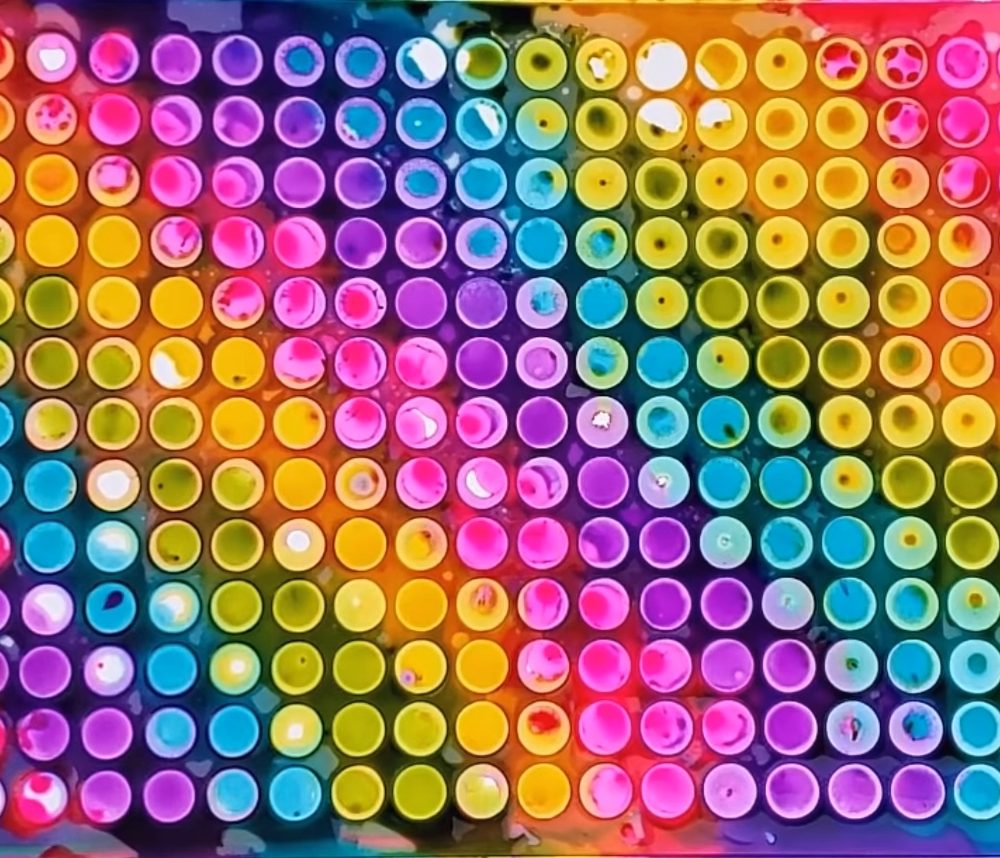
Do you want to learn how to create beautiful paintings with alcohol inks? If so, you have come to the right place! This guide will teach you everything you need to know about alcohol ink art. We will discuss what alcohol inks are, the different alcohol inks available, and the best ways to use them for painting. We will also show you some fantastic alcohol ink art projects that you can try yourself! So let’s get started!
What is Alcohol Ink Art, and How is it Made?
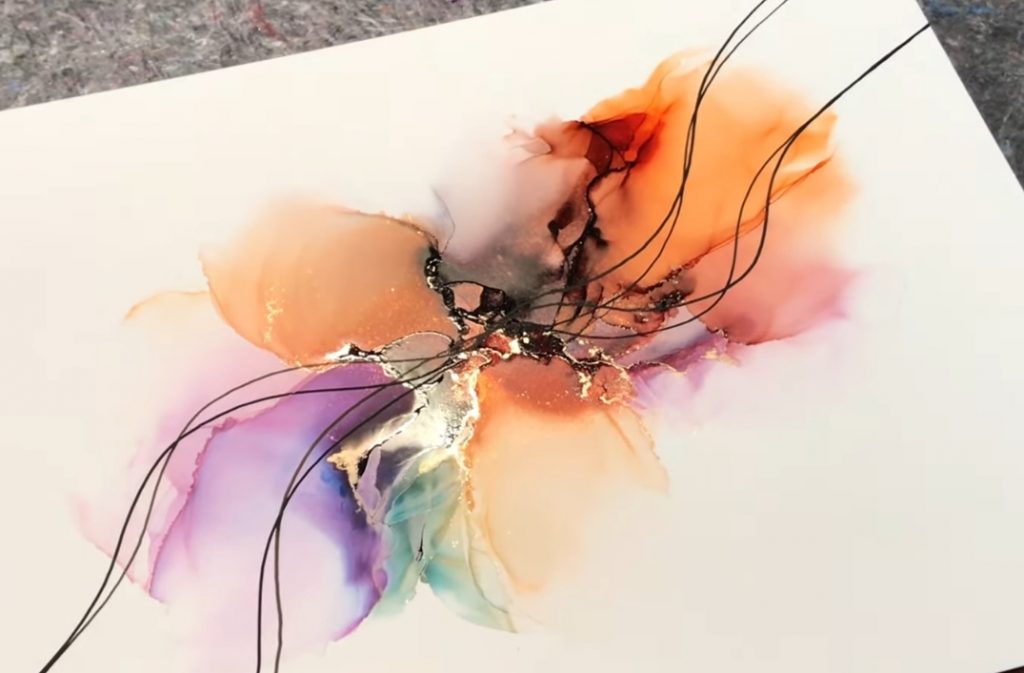
The term Alcohol Ink has several meanings. On the one hand, it refers to the paint material used, alcohol ink. On the other hand, it can also refer to a fluid painting technique. This trend began in the United States and is still relatively obscure. Alcohol Ink inks include a large portion of alcohol combined with color pigments, as the name implies.
Alcohol can evaporate quickly, which comes in handy with this paint method. Because of the alcohol’s evaporation, the colors dry fast. Even dried ink can be “revived” if added by pure alcohol or fresh ink. The painting may be modified later on, for example, by adding new hues in this manner. Acrylic paints, for example, do not provide this option.
Required Materials for Alcohol Ink Technique
Alcohol Inks and Markers
The first thing you’ll need is alcohol paint. The best way to acquire them is over the internet. Tim Holtz Ranger’s most well-known colors are the company’s many hues. This firm also offers a variety of metallic tones in addition to 60 distinct colors. From this brand, you can get very inexpensive sets for testing and experimenting for the first time. Other excellent brands include Let’s Resin and Piñata from Jacquard. This brand provides very low-cost starter kits for testing and testing first.
Replacement caps for Copic Marker alcohol inks, on the other hand, are inexpensive and practical. You can use this refill ink in the same manner as the original Alcohol Ink. Sharpie markers are ideal for later additions to a dried painting or decorating it with last decorations and ornaments.
Isopropyl Alcohol
It’s crucial to use a blending solution when working with Alcohol Ink. On the one hand, you may save a lot of ink. On the other hand, using this solution opens up many new technical possibilities. The blending solution is made up of isopropyl alcohol and glycerine, which brighten and allow for mixing colors. You can purchase pure isopropyl alcohol online in bottles containing 1 l for about half the price of Blend Solution (which has an alcohol content of 99.99%).
The alcohol is essentially the same as Alcohol Ink, which is to say it’s a kind of water. It’s used in conjunction with the substrate to create the foundation on which the alcohol ink may be utilized. As a result, these vast amounts are required. The quality of the isopropyl impacts the quality of the final Alcohol Ink painting. Using too much oil or water, for example, can have very detrimental effects on the overall outcome. If possible, use isopropyl alcohol with an alcohol content of at least 90%.
Optimal Painting Surface
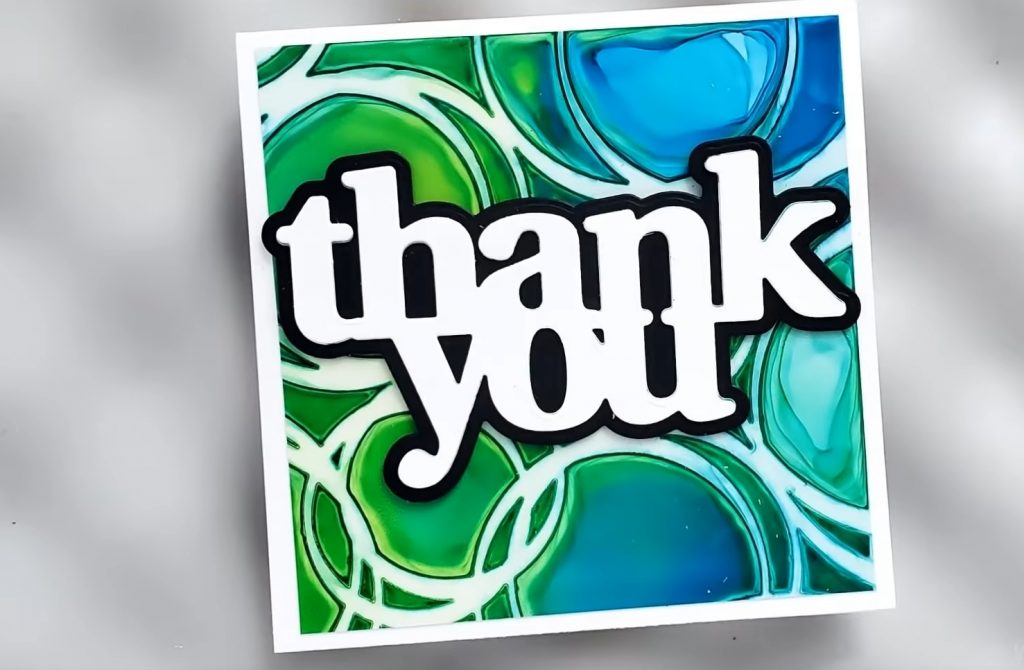
When selecting the appropriate substrate for the Alcohol Ink method, some important factors should be considered. Paper, as employed in painting with acrylics, oils, or watercolors, is not suitable for using Alcohol ink. Because of its porous structure, the ink would quickly seep into the sheet. The smoothest surface possible is ideal. This is how colors may be blended in alcohol and swiveled before being used to create various styles.
Tiles made of metal, glass, or ceramic are also ideal. Polypropylene is used to make this paper synthetically and has an incredibly waterproof and tear-resistant construction. Working with this paper, on the other hand, is difficult. Because it has a solid repelling quality about oil, it’s advised that you use rubber gloves. As far as possible, you should avoid touching the paper with your fingers since doing so would automatically leave skin residue on the form. The content of the art paper used in Yupo prints is supplied by Frisk, which makes it in sheets of 85 g/m2 (enough for a start) and 110 g/m2. We also suggest the Hahnemühle Lanavanguard familiar painting ground because it’s versatile.
Supplies You Need for Art
High-Quality Alcohol Inks
T-REX Inks Alcohol Ink Set, 12 Jumbo Sized Bottles
- Brillant Alcohol Ink Set from T-REX
- 12 different colors in 20 ml jumbo size bottles
- Highly pigmented for all purposes
LET’S RESIN Alcohol Ink, 14 Vibrant Colors
- Intense Alcohol Inks from Let’s Resin
- High concentrated, very vibrant colors
- Suitable for Resin and for all Alcohol Ink Techniques
TIM HOLTZ Adirondack Alcohol Ink 24 bottle Mega Set
- Set of 24 different Alcohol Ink colors
- Alcohol Ink from Tim Holtz with a very high quality
- Suitable for Resin and Alcohol Ink techniques
How to Use Alcohol Ink – Tutorial
- Begin by gathering all necessary supplies (paper, ink, and alcohol or blending solution). You may now begin experimenting.
- Start with smaller pieces – The A4 sheets can be cut in half, and the back of the sheet may be used as well. You won't waste too much material by doing this, as you might not be pleased with some of your experiments yet.
- Put a single drop of ink in the color of your choice on the sheet, then watch what happens. The first solitary droplet will move out in a circle on the surface in just a few moments.
- Choose another color and put a drop of it in the first circle. The new color will spread out and displace the initial shade much the same way. Alternatively, you may place the droplet next to the original hue so that the circles converge on each other.
- A colorless circle forms and spreads out, displacing different colors like alcohol ink. This procedure frequently creates intriguing contrasts with partially polished, dark edges.
- You may now add beautiful decorations with a brush, cotton swabs, or wooden sticks dipped in alcohol to your painting if you are pleased with it.
- You may also use a marker to add ornaments to the dried Alcohol Ink Painting.
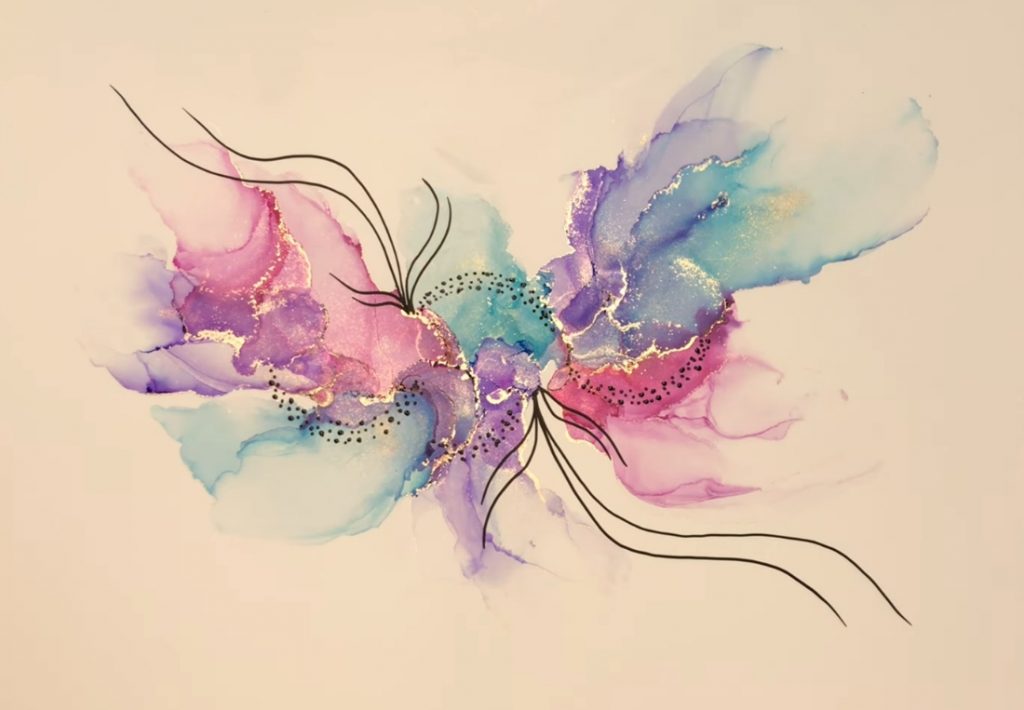
Creation of Gradients
You may use a straw to mix colors or make color gradients by putting a drop of paint on your surface, which you previously covered with alcohol. If you utilize this approach more frequently, you'll eventually need a borehole blower. It's essentially a tube with a pump balloon attached. Compared to a bare straw, it has the significant benefit of not forming any moisture from blowing into it, which might drip onto the Alcohol Ink work.
Alternatively, you may utilize a hairdryer with a cold air stage for this method. However, there are certain factors to bear in mind: Remember that you're working with a highly combustible beverage. As a result, the hairdryer should only be used in its most relaxed setting. This approach also prevents undesirable ripples from developing in the plastic paper due to being too close to it. Slowly guide the hairdryer toward the form, starting at about one arm's length away. The minimal airflow level guarantees that neither the alcohol nor any unexpected ink splatters are blown off the paper.
How to Make Your Own Alcohol Inks
You may produce your own alcohol inks by combining printer ink with isopropanol. To create your own alcohol ink, mix 2 parts printer ink with 2 parts isopropanol — there you have it, your very own alcohol ink to use for creative writing. You may also make your own alcohol inks using alcohol markers.
Further Design Inspirations
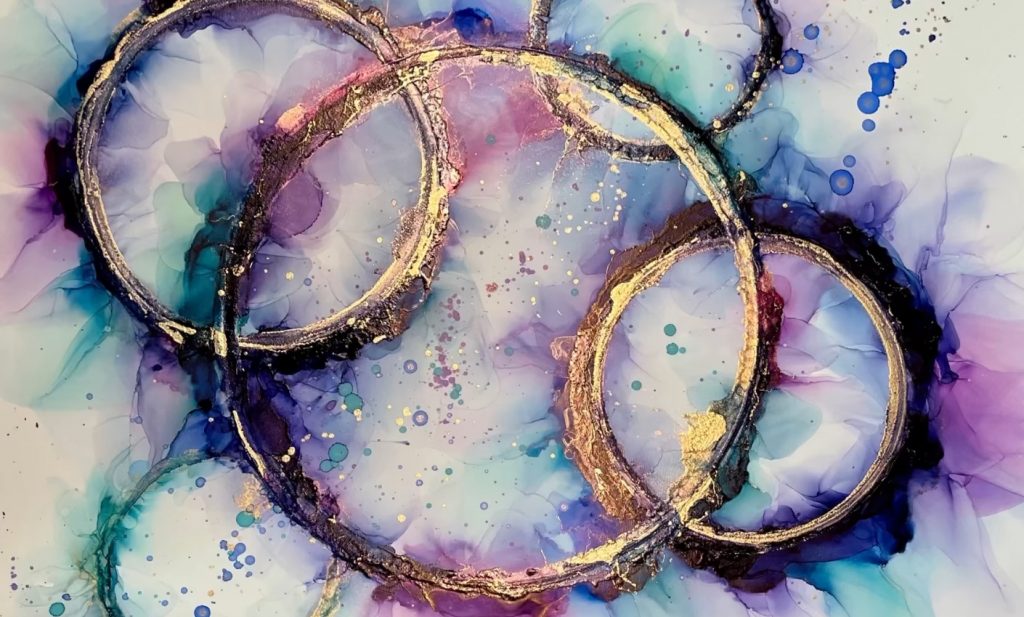
Felt Stamps
Finally, felt stamps are available from the same Tim Holtz producer. These are handled stamps that come with additional creative possibilities. A piece of felt is attached to the surface on which alcohol ink in various colors and blending solution may be used. After that, cards or similar objects can be decorated with ornamental backgrounds.
Make a royal design on the bowl before adding your choice of decorations. Tip: Beautiful, personalized adornments may be added at the end using a brush or cotton swab moistened with alcohol.
Tools for Creative Designs
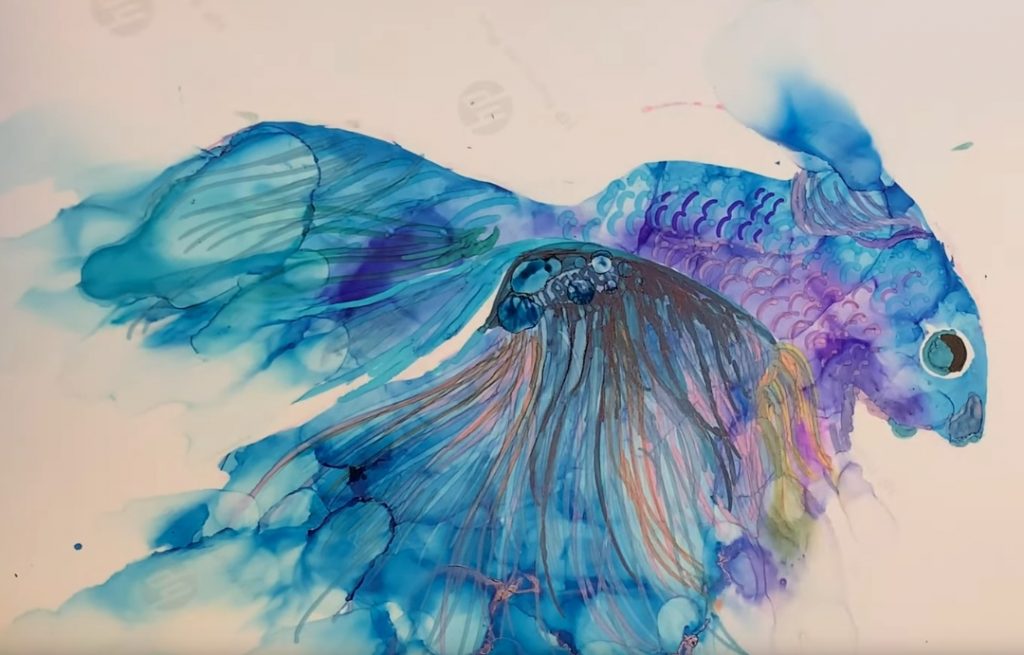
The Alcohol Ink technique may also make realistic animal or landscape paintings. The options are nearly limitless. It will take some time to master the characteristics of alcohol ink. Be inquisitive and experiment with different inks to see how they spread and interact with one another.
Learn how to identify the various tones and brightness levels of similar colors. You'll also need a variety of instruments, such as wooden sticks, straws, hairdryers, brushes, or cotton pads. It's also exciting to try new tools or combine different colors on a color palette. Discover the many possibilities that alcohol ink allows you to explore!
Priority when Working with Alcohol Inks
- When it comes to alcohol ink, the ideal working environment is one that you can ventilate well. If you don't have this alternative, a breathing mask with a filter is required. When the alcohol evaporates, this prevents you from inhaling tiny amounts of the color pigments in ink. A breathing mask is also crucial when using an atomizer.
- Working with Alcohol Ink while wearing rubber gloves is highly recommended. One of the reasons for this is that once the ink has been applied to your hands, removing it might be pretty tough. Furthermore, by wearing gloves, skin oil from your fingers does not get onto the painting surface and thus affects the ink's reaction.
Conclusion
To protect against UV rays, you should seal your Alcohol Ink paintings after they're done. A spray varnish is simple to use and protects your artwork from both UV radiation and external forces. Solo Goya's painting varnish or the Schmincke Universal Varnish have shown to be quite successful.


