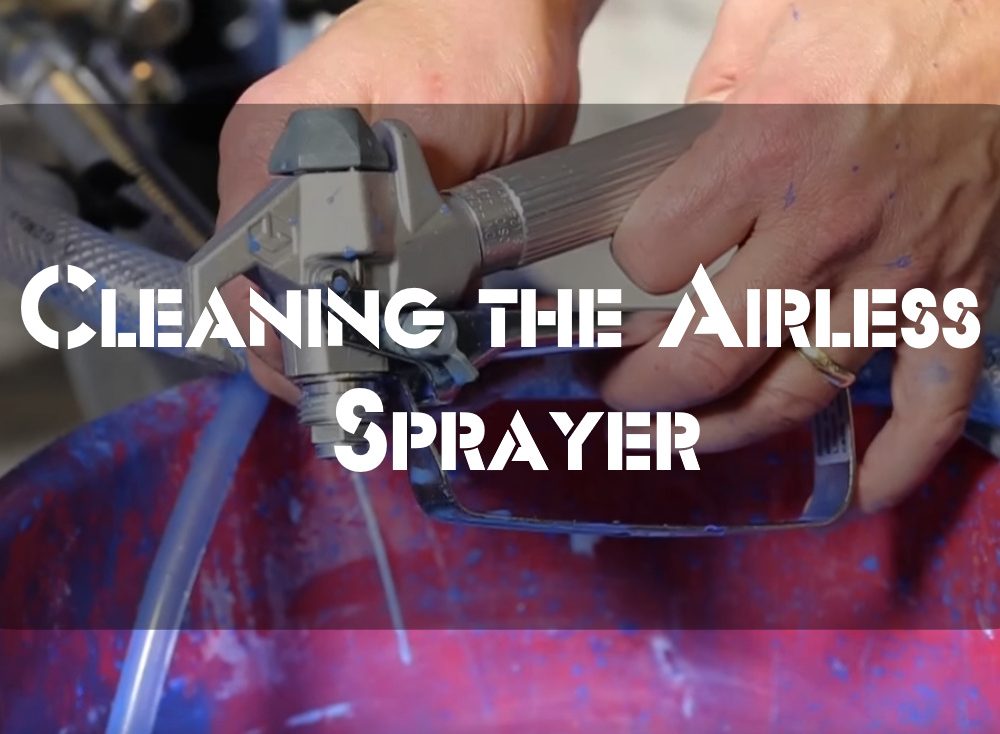
Airless spraying equipment is suitable for painting large areas. However, cleaning and care of the equipment are always part of the overall activities. How this works best and thoroughly is described below with step-by-step instructions. It also immediately shows which cleaning utensils are suitable and needed for this.
Why regular maintenance is important
Regular maintenance of the airless sprayer’s periphery is essential to maintain its functionality. It should always be done after use and before a long break; otherwise, the usability and overall life of the device may be reduced.
Cleaning airless paint sprayer: a step-by-step guide
Below are the essential steps to clean the device after using your paints and glazes. It should be noted that you usually only need water if it is a fresh water-based paint. Otherwise, you will need to add solvents, even if the color is too thick or has already been used. The paint is too thick or already encrusted.
The following description is about cleaning using only water.
Step 1: Remove remaining paint from the device
You must get all the paint out of the machine, hose, and airbrush gun, as it will still be there after use.
Here, of course, you will still have the paint bucket. You will need to add two more buckets and clear water.
Now take the machine’s suction out of the paint bucket by tilting it backward and then putting the bucket underneath the remaining material. It would help if you wiped off the paint with a bristle brush and the water, which can quietly run back into the bucket.
The next step is to remove the paint from the return flow. To do this, set the unit upright again so that the suction is in the bucket with the water you have just used.
Now you should set the switch to return to first pump the deposited paint from the hose to return into the paint bucket standing next to it. Do exactly that until the water appears from the bucket. Then you reduce the pressure again and pump it a bit more into the dirty water bucket.
Step 2: Remove remaining paint from the spray hose
Now take off the nozzle on the gun to clean the spray hose here. When unscrewing the nozzle, make sure that you do not lose the internal seal, as it is loose. You can always check whether it is still intact. If not, you should replace it.
Now change the pressure direction so that it goes beyond the gun. Start with a light pressure first. A helpful tip is to pull the weapon completely, turn on the pressure and slowly increase it. This will prevent heavy splashing.
Also, collect the remaining paint by holding the gun above the paint container. Do this again until water comes out, and then have it over the dirty water bucket. Now the color is out, and there is only muddy water.
Then you deliberately use the freshwater with the associated water by changing the suction there. The entire procedure, as just described, you do again with return and forward flow with the gun and the freshwater bucket. This way, the hose will be completely clean.
In the end, you should clean the return, the suction, and the suction filter with a brush and the freshwater outside.
Step 3: Clean the primary filter
Now it’s time to clean the primary filter and the housing, which you have to unscrew. If you can’t do it by hand because your hands are wet, use a pair of pliers to help you.
Remove the primary filter and rinse it in the freshwater bucket. In addition, take the brush and clean it with it. You should also remove it from the screw attachment to better access the filter core, which you should also brush with water.
You should also form a “rag sausage” with the slightly damp rag and rub it into the filter housing to remove any paint residue.
Then the operation is finished, and you can screw it back on. Ensure that there is no residue on the thread; otherwise, you should also remove it. It would always be a good idea to rub it with thread oil temporarily. This protects against erosion and maintains smooth running.
Step 4: Clean gun filter
The gun filter is located in the handle. To remove it:
- Unscrew the handle from the gun body.
- Remove it and wash it the same way you cleaned the primary filter (bucket of fresh water and brush).
- Put it back in place and screw everything back together.
Step 5: Clean the nozzles
To do this, carefully unscrew the nozzle and its holder and rub the outside of the nozzle carefully with the unique nozzle cleaner. Then place it in a nozzle cleaning container with the nozzle cleaning fluid overnight. The rest will then come off by itself.
Care of the airless sprayer
The care is done correctly if you always carry out the described cleaning after your working day in the evening. Otherwise, the paint will be dry the next day and encrust the system and components.
Otherwise, if you don’t use the device for a more extended period, it is recommended that you suck in preservatives and leave them inside. They maintain the device so that it remains ready for use. If the device is cold over winter, antifreeze should be added.
What is the best way to clean an airless paint sprayer?
The best way to clean an airless paint sprayer is to first remove the nozzle and then soak it overnight in a cleaning solution.
The next day, you can remove the paint from the inside of the nozzle by using a toothbrush. Afterwards, you can rinse off the nozzle with water and then reattach it to the sprayer. Finally, you can run some warm water through the sprayer to clean it out.