Today’s article will talk about how to clean the airbrush from paint after use.
Let’s look at how to partially clean the airbrush when you change colors and clean with a complete disassembly of the airbrush.
All airbrush beginners should understand that how well an airbrush is cleaned depends on its lifetime and the quality of the airbrush itself. The cleaning should be done very carefully not to damage the airbrush’s needle and nozzle.
To clean the airbrush much faster, remember some tricks (if the airbrush has a top feed):
- Only a small amount of paint should be poured into the airbrush container (if the container is 7-9 ml, 2-4 ml will be enough to paint small areas). This amount of paint will not spurt out of the container if you move the airbrush suddenly.
- It is also possible not to use the lid of the container, so you do not have to clean it every time you change the paint.
Cleaning the Airbrush When Changing Colors
When you change colors in the airbrush reservoir, you can empty the remaining paint into a temporary container (such as a cup); you may need it when painting. Never pour solvent diluted paint into a container of undiluted paint; it will quickly dry out.
To avoid throwing paint away – dilute it in a small quantity (enough for a certain pattern, you will learn with experience to find out how much you need).
After pouring the paint into the container, pour a small amount of solvent – if the paint is diluted by solvent, water, or alcohol – if the paint is water-based. You can close the nozzle cap with your finger, press the trigger and pull it a little; this way, the air gets through the channel into the paint container and mixes it with the solvent.
We blow a small amount of solvent through the airbrush by pressing the trigger, then pour the remaining solvent onto a rag to wipe off the remaining paint and the airbrush if there is any paint on its body. After that, we pour insolvent again, blow it off, pour it on the rag, and wipe it down.
In most cases, when you change the paint in the airbrush, this cleaning procedure is enough. You can safely pour another color into the airbrush and continue painting.
If you are not sure about the cleanliness of the container, you can additionally blow off some more solvent.
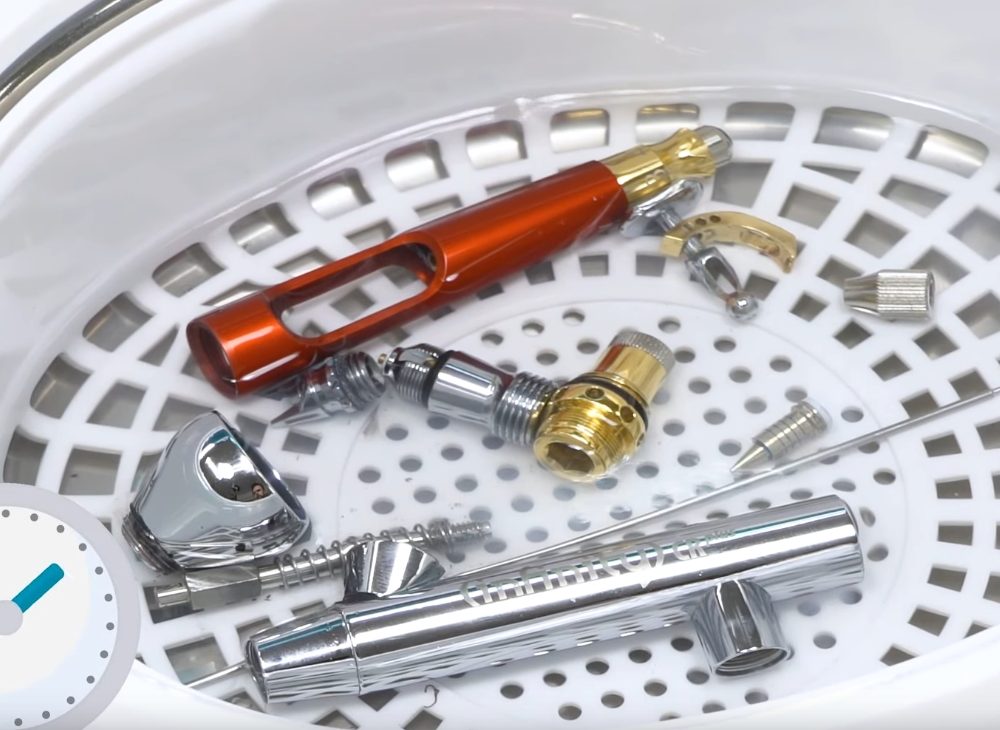
Airbrush Cleaning with Complete Disassembly
If you are painting intensively with an airbrush for a long time (5-10 hours) or at the end of painting, it is needed to clean the airbrush with a complete disassembly.
First, perform the same procedures as described above for changing the paint color. Then close the air supply to the hose and disconnect the airbrush from the hose.
Remove the handle (back of the airbrush) and loosen the needle collet clamp.
You can then carefully remove the needle, but I prefer to remove the nozzle cap and the nozzle itself to remove the needle through the front of the airbrush.
Removing the needle through the back of the airbrush leaves paint on the internal parts, which takes a long time to clean.
Use a cotton swab moistened with solvent to clean the airbrush needle of any remaining paint. Clean the needle from the back to the tip, twisting it constantly. Clean the nozzle and nozzle cap. Clean the accessible paint channels with cotton swabs, ensuring no cotton residues could clog the nozzle. Clean the airbrush container for the paint.
After all the parts of the airbrush are cleaned from the remaining paint, carefully reassemble the airbrush in the reverse order:
- screw-on nozzle
- screw-on the nozzle cap
- Insert the needle through the back part of the airbrush (don’t force it all the way into the nozzle). it is not recommended to press the needle too much into the nozzle as this may cause rapid needle and nozzle wear and deformation that, in its turn, will lead to wrong paint spraying
- tighten the collet clamp of the needle
- screw on the handle (back part of airbrush)
That’s it! Now the procedure of airbrush cleaning is done. The only thing left is to connect the hose, turn on the air supply and blow some paint thinner through the airbrush once again. This will finally flush the airbrush ducts of paint, dust, and lint from the absorbent cotton. After spraying the solvent, you should blow air through the airbrush with solvent-free air; this will help the remaining solvent evaporate more quickly.